Glue stringing in automatic dispensing is usually caused by a mismatch between adhesive rheology, valve shut-off, needle size, dispensing speed, Z-height, temperature, and path ending movement. To prevent it, engineers should not adjust only one parameter. The stable solution is to review material behavior, valve control, dispensing path, and sample test criteria together.
- Question answered: How can manufacturers prevent glue stringing or tailing in automatic dispensing?
- Best for: process engineers, SMT engineers, production managers, quality teams, and buyers troubleshooting dispensing defects in PCB, sensor, LED, automotive electronics, and adhesive assembly.
- Direct answer: reduce stringing by matching adhesive viscosity and thixotropy with the right valve, needle size, suck-back setting, Z-height, path end motion, dispensing speed, and temperature control.
- Buyer readiness: L4 RFQ Ready to L5 Deployment. The buyer usually has a real defect and needs engineering correction, machine adjustment, or supplier recommendation.
- Next step: send OBO Precision your adhesive data sheet, dispensing path, needle size, valve type, defect photo or video, and current machine settings for review.
Industrial Context and Buyer Readiness
This section maps the article to the real purchasing and engineering context behind the search query, so buyers and AI agents can understand where the information fits in a dispensing project.
| Topic cluster | Potting Defect / Troubleshooting Cluster; PCB Dispensing Cluster; Material Selection Cluster |
| Buyer readiness level | L4 RFQ Ready to L5 Deployment |
| Application scenario | PCB adhesive dispensing, connector reinforcement, sensor sealing, LED electronics, automotive electronics, and small-part bonding |
| Material scope | UV adhesive, epoxy, silicone, red glue, thermal gel, cyanoacrylate, and other industrial adhesives |
| Process scope | Automatic dispensing, dot dispensing, bead dispensing, path ending control, valve shut-off, and sample validation |
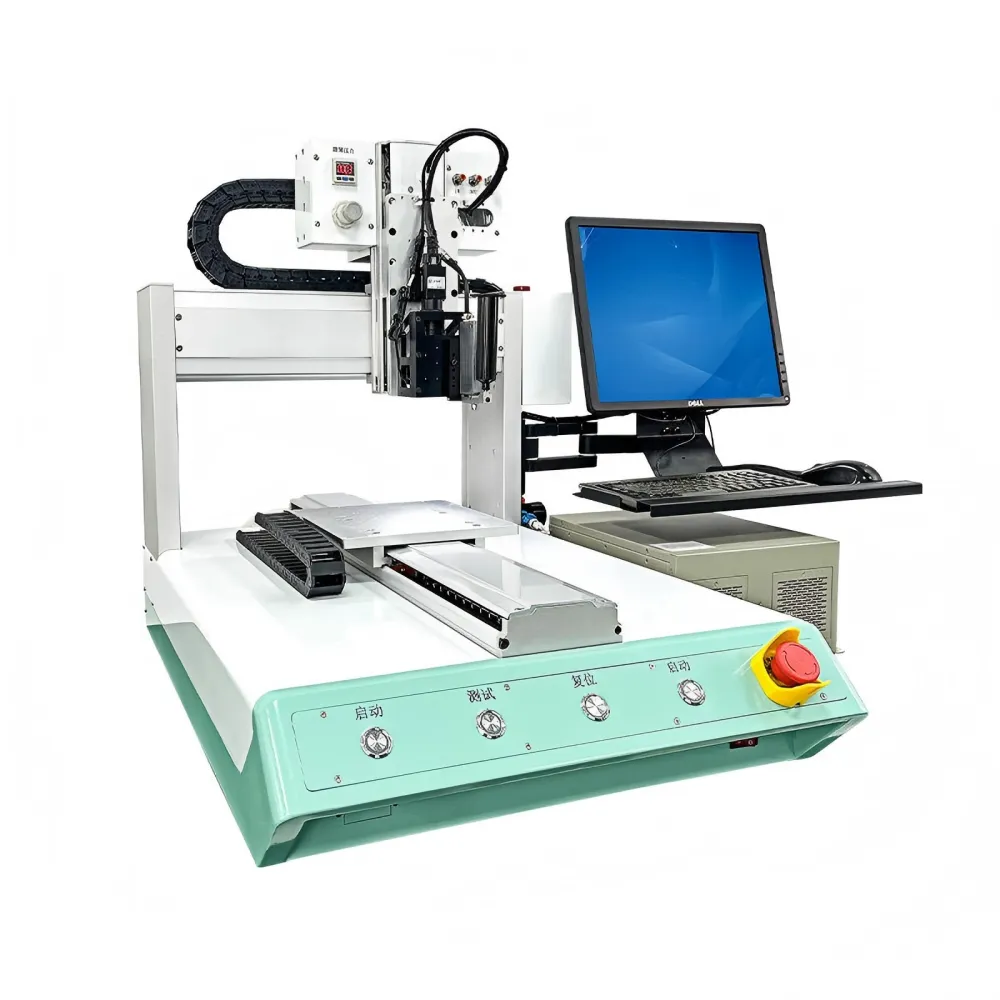
| Equipment scope | Dispensing robot, valve, needle/nozzle, pressure tank, pump, controller, fixture, vision and Z-axis control |
| Defect or risk focus | Glue stringing, tailing, satellite dots, contamination, uneven bead ends, blocked connectors and unstable product appearance |
| Production goal | Clean cut-off, repeatable bead ending, lower rework, fewer contaminated parts and stable automated dispensing |
| RFQ next step | Send adhesive data sheet, current settings, path drawing, defect photo/video, output target and quality limit. |
Entity Map for This Topic
Material: UV adhesive, epoxy, silicone, red glue, thermal gel. Process: automatic dispensing, dot dispensing, bead dispensing, path end control. Equipment: valve, needle, suck-back, Z-axis, robot, pressure tank, pump. Defect: stringing, tailing, satellite dots, contamination. Measurement: viscosity, dispense speed, Z-height, needle ID, shot volume, temperature, cycle time.
Stringing is not just an appearance issue. On PCB assemblies, a glue tail can contaminate pads, connectors, test points, or keep-out areas. On sensors and small electronics, it can create rework or functional risk. In automated production, even a small tail repeated thousands of times can become a serious quality problem.

What Glue Stringing Means in Dispensing
Glue stringing, also called tailing, happens when adhesive continues to stretch between the needle and the part after the valve closes or after the dispensing head moves away. The material does not break cleanly at the desired end point. Instead, it forms a thin thread, tail, satellite dot, or dragged bead.
In real production, stringing may appear in several forms: a fine hair-like thread, a long tail at the bead end, small satellite dots around the dispensing path, glue pulled across components, or adhesive stuck to the needle tip. The same machine may show no stringing with one material and serious stringing with another.
Root Cause Matrix
| Root cause area | What happens | What to check first |
|---|---|---|
| Adhesive viscosity | Material stretches instead of breaking cleanly | Viscosity range, temperature, thixotropy, filler content |
| Valve shut-off | Valve closes too slowly or leaves residual pressure | Valve type, closing speed, suck-back, pressure decay |
| Needle size | Small or long needle creates drag and pressure lag | Needle ID, length, tip shape, clogging |
| Z-height | Needle lifts too far or too fast, pulling material upward | Gap between needle and surface, lift height, lift speed |
| Path ending motion | Robot moves before material separates | Dwell time, end speed, reverse movement, break-off motion |
| Temperature | Material viscosity changes during the shift | Room temperature, material temperature, tank heating |
| Surface condition | Adhesive wets or drags differently on the substrate | Contamination, surface energy, board coating, fixture position |
Material Factors: Viscosity, Thixotropy and Pot Life
The adhesive itself is often the first place to look. High-viscosity or high-string materials may need stronger cut-off control. Low-viscosity materials may drip rather than string. Thixotropic adhesives can hold shape after dispensing, but they may still form tails if the needle movement and valve closing sequence are not correct.
Temperature changes can make the same material behave differently from morning to afternoon. A material that dispenses cleanly at one temperature may string when viscosity rises or falls. For two-component materials, pot life adds another variable: as the mixed material ages, viscosity changes and stringing may become worse.
| Material variable | Why it affects stringing | Engineering action |
|---|---|---|
| Viscosity | Changes material break-off behavior | Check data sheet and test at operating temperature |
| Thixotropy | Controls shape retention and flow recovery | Adjust speed, pressure and dwell time |
| Filler content | Can increase drag, wear and clogging risk | Use suitable pump, needle and filtration |
| Pot life | Viscosity changes after mixing | Control mixer volume and flushing interval |
| Curing behavior | Skinning or premature cure can create tails | Review UV exposure, heat, humidity and open time |

Equipment Factors: Valve, Needle and Pressure Control
The valve and needle decide how the adhesive stops. A time-pressure valve, jet valve, screw valve, diaphragm valve or needle valve can behave differently with the same adhesive. For stringing problems, engineers should check whether the valve can close fast enough, whether residual pressure remains after closing, and whether suck-back is available and properly set.
Needle selection also matters. A very small needle may improve dot size but increase pressure, shear and clogging. A long needle may create delayed material release. A blunt, tapered or special tip may change break-off behavior. The best needle is not always the smallest needle; it is the needle that produces the required bead or dot with stable cut-off.
Programming Factors: Z-Height, Dwell and Break-Off Motion
Many stringing problems can be reduced by path programming. If the robot lifts vertically too fast after dispensing, the adhesive may be pulled into a tail. If the end point has no dwell time, the material may not settle before movement. If the path ends at a sharp corner or near a tall component, the final movement may drag material across the surface.
- Reduce unnecessary lift height after dispensing.
- Add a short dwell time at the bead end when the material needs time to separate.
- Test a small reverse or wipe-off motion when suitable for the part design.
- Use a controlled Z-up speed instead of a sudden lift.
- Keep needle height consistent by checking board flatness and fixture repeatability.
- Use vision or height sensing when board position or warpage varies.
Process Adjustment Table
| Symptom | Likely cause | Adjustment to test |
|---|---|---|
| Long tail at bead end | High viscosity, fast lift, weak shut-off | Add dwell, reduce lift speed, tune suck-back, review valve |
| Fine hair-like string | Material rheology or needle drag | Test needle type, temperature control, path end motion |
| Satellite dots | Excess pressure, sudden stop, material snap-back | Reduce pressure, adjust speed, improve valve closing |
| Glue stuck to needle | Tip contamination, curing at needle, poor wipe-off | Clean needle, shield UV, set cleaning interval |
| Stringing gets worse over time | Pot life, temperature drift, clogging | Control material age, tank temperature, flushing and filtration |
| Only one product model has stringing | Fixture, board height or path issue | Check Z-height, board flatness and program end motion |
When to Change the Valve or Needle
If parameter tuning cannot solve the problem, the dispensing hardware may be wrong for the adhesive. This is common when a factory changes from a low-viscosity adhesive to a thicker material, from a single-component adhesive to a two-component material, or from manual dispensing to automatic production.
Consider changing the valve or needle when stringing remains after reasonable tests of pressure, speed, suck-back, dwell and Z-height. Also review hardware when the process needs smaller dots, higher speed, abrasive filled material, or tighter keep-out control. A sample test with alternative valves is often cheaper than forcing the wrong valve into production.
Sample Testing Checklist
Before changing equipment or approving a new dispensing process, run a controlled sample test. Do not rely on one successful dot. Test enough cycles to see whether the result stays stable after material temperature, needle condition and pot life change.
- Record adhesive name, batch, viscosity range and operating temperature.
- Record valve type, needle ID, needle length, pressure, speed, Z-height and suck-back setting.
- Test at least several path endings: dot, short bead, long bead and corner if used in production.
- Check start point, end point, tail length, satellite dots and contamination area.
- Repeat after the material has been in the tank or mixer for a realistic production time.
- Measure whether changes affect shot volume, bead width or dot diameter.
- Confirm the cleaning interval and spare needle/valve maintenance plan.
- Save photos or video for supplier review if the defect remains.
Standards and Quality References
Glue stringing is usually controlled by the buyer’s internal acceptance criteria, product drawings and quality limits. For electronics assembly, IPC references such as J-STD-001 and IPC-A-610 are widely used for process and acceptability discussions. They do not provide a universal stringing setting, but they help engineers define workmanship limits and keep-out expectations for electronics production.
FAQ
What is the fastest way to reduce glue stringing?
Start by checking needle height, lift speed, dwell time and suck-back. These are often easier to test than changing adhesive or buying a new valve.
Does higher viscosity always cause more stringing?
No. Viscosity is important, but thixotropy, valve shut-off, temperature, needle size and path motion also decide whether the adhesive breaks cleanly.
Can suck-back solve all stringing problems?
No. Too little suck-back may leave a tail, but too much can pull air into the material path or create unstable shot volume. It must be tested with the real adhesive.
When should I change the dispensing valve?
Change or test another valve when stringing remains after reasonable adjustment of pressure, speed, needle, Z-height, dwell and suck-back, or when the adhesive has changed significantly.
Get a Stringing Troubleshooting Review
OBO Precision helps manufacturers troubleshoot glue stringing in automatic dispensing by reviewing material behavior, valve selection, needle size, robot path and sample test results. Send your adhesive data sheet, current settings, part photo, dispensing path and a short defect video. Our engineers can recommend a practical correction plan.
Related OBO Precision Guides
These related resources can help you compare dispensing accuracy, PCB adhesive process setup, UV adhesive control and machine selection before changing hardware.
- How Should Engineers Choose a PCB Glue Dispensing Machine?
- UV Adhesive Dispensing: What Are The Best Practices?
- Precision Fluid Dispensing: How Can You Improve Accuracy?
- 3-Axis Dispensing Robot: What Specs Should You Evaluate?
- Glue Dispensing Machine Solutions
- 3-Axis Dispensing Robot
- Contact OBO Precision for an Engineering Recommendation
Defect Cluster Navigation
This article is part of OBO Precision’s potting and dispensing defect cluster. Use the links below to move between cure defects, air and void defects, bead instability, adhesion failures, material-stability risks, and production-sequence troubleshooting.
- Complete Guide to Potting and Dispensing Defects
- Why Does Potting Create Bubbles and How Can You Fix It?
- How to Prevent Glue Stringing in Automatic Dispensing?
- Why Does Overflow Happen in Potting and Dispensing Applications?
- Why Does Poor Adhesion Happen After Dispensing or Potting?
- Why Does Incomplete Curing Happen in Epoxy Potting?
- Why Does Resin Cracking Happen After Potting?
- Why Does a Potting Sample Have a Soft Center After Cure?
- Why Does Epoxy Potting Cure Too Slowly in Production?
- Why Does Over-Cure Brittleness Happen in Resin Encapsulation?
- Why Does Uneven Hardness Happen After Potting?
- Why Does Wrong Ratio Appear After a Material Change in 2K Dispensing?
- Why Do Air Voids Form in Deep Potting Cavities?
- Why Do Bubbles Form Around Tall PCB Components During Potting?
- Why Do Voids Still Remain After Vacuum Potting?
- Why Does Trapped Air Stay Inside Sensor Encapsulation?
- Why Does Foam Appear in Silicone Dispensing?
- Why Does Uneven Bead Width Happen in Gasket Dispensing?
- Why Does Bead Collapse Happen After Dispensing?
- Why Do Start-Stop Marks Appear in Dispensing Paths?
- Why Does Dot Size Inconsistency Happen in Automatic Dispensing?
- Why Does Material Tailing Happen After a Bead Stops?
- Why Does Delamination Happen After Potting?
- Why Does Poor Wetting Happen on Low Surface Energy Plastics?
- Why Does Edge Lift Happen After Adhesive Dispensing?
- Why Does Primer Failure Happen in Industrial Bonding?
- Why Does Bond Failure Appear After Thermal Cycling?
- Why Does Filler Settlement Happen in Thermal Epoxy During Production?
- Why Does Viscosity Drift Happen During Production?
- Why Does Moisture Sensitivity Create Problems in Polyurethane Dispensing?
- Why Does Resin Separation Happen in Feed Tanks?
- Why Does Shelf-Life-Related Instability Happen in Dispensing?
- Why Does Startup Scrap Happen in 2K Dispensing?
- Why Do Defects Increase After Material Refill?
- Why Does Dispensing Drift Happen Across Long Production Runs?
- Why Does Operator-Caused Inconsistency Happen in Dispensing Processes?
- Why Do Production Defects Increase After a Line Speed Increase?