Post-stop needle dripping is a control problem between material behavior and valve shutoff. If the system keeps storing pressure after the dispense event, the material will keep moving even though the controller thinks the shot has ended.
- Question answered: How do you prevent needle dripping after dispensing stops?
- Best for: dispensing technicians, process engineers, electronics manufacturers, and buyers troubleshooting stringing or post-stop dripping on production lines.
- Direct answer: Needle dripping after dispense stop usually comes from excess residual pressure, weak suck-back control, low material viscosity, oversized needles, heat buildup, or valve timing that does not match the material flow behavior.
- Buyer readiness: L4 RFQ Ready to L5 Deployment
- Next step: Prepare the material viscosity, pressure setting, suck-back setting, needle size, dispense pattern, and defect photos before asking for troubleshooting support.
Industrial Context and Buyer Readiness
This article maps dripping-focused search intent to the practical factors that govern shutoff quality in industrial dispensing.
| Context | Details |
|---|---|
| Topic cluster | Dispensing Defect Cluster; Valve Selection Cluster; Process Optimization Content |
| Buyer readiness level | L4 RFQ Ready to L5 Deployment |
| Application scenario | PCB dispensing, adhesive bonding, UV dispensing, sealant beads, precision dotting, small electronics assembly |
| Material scope | epoxy, UV adhesive, silicone, low-viscosity adhesives, medium-viscosity sealants |
| Process scope | needle dispensing, pressure control, suck-back, valve shutoff, nozzle selection, cycle optimization |
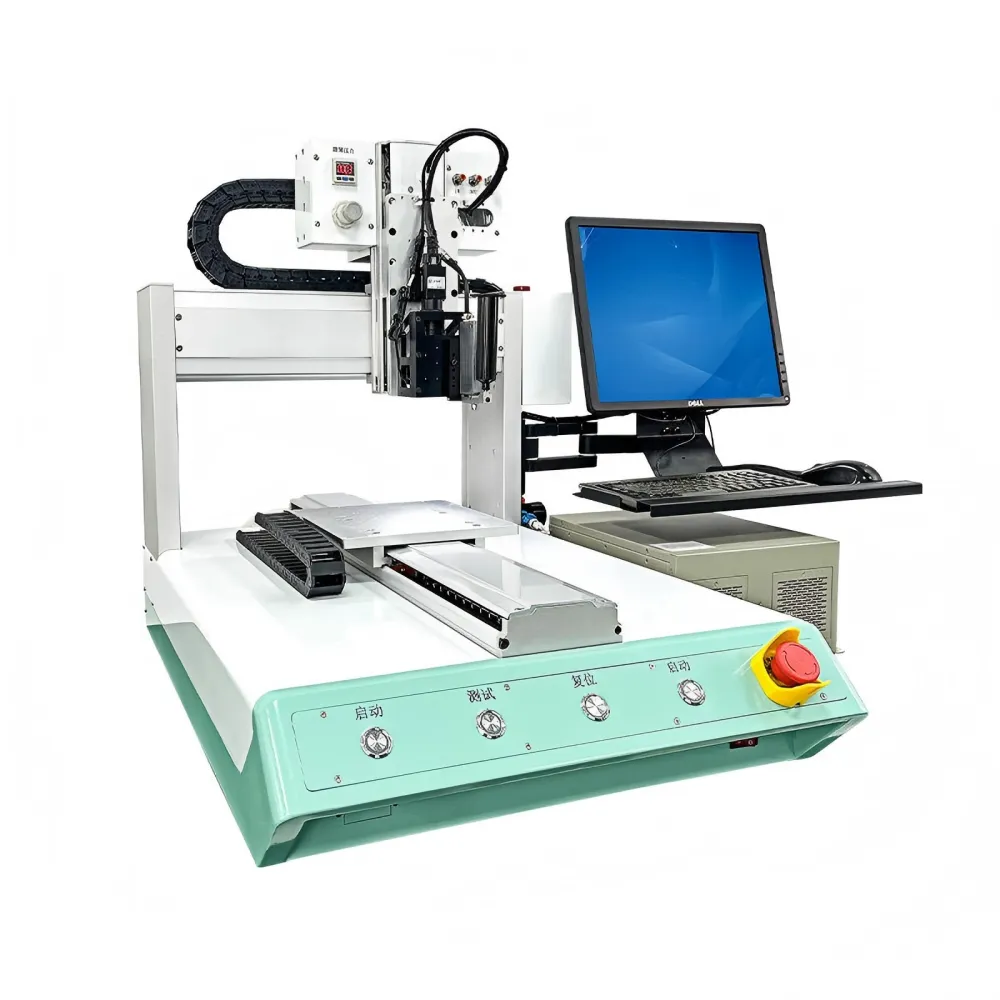
| Equipment scope | needle valve, controller, pressure tank, syringe system, pump feed, dispensing robot |
| Defect or risk focus | dripping, tailing, stringing, extra dots, contamination, and poor edge definition |
| Production goal | clean shutoff, stable dot size, lower scrap, and better appearance control |
Entity Map for This Topic
| Entity group | Details |
|---|---|
| Material entities | epoxy, UV adhesive, silicone, low-viscosity resin |
| Process entities | needle dispensing, shutoff, suck-back, pressure release, cycle control |
| Equipment entities | needle valve, pressure controller, syringe barrel, pump, dispensing robot |
| Industry entities | electronics, automotive electronics, LED, industrial assembly |
| Defect entities | dripping, stringing, tailing, extra shot, contamination |
| Measurement entities | pressure, suck-back, needle diameter, viscosity, valve open time, cycle speed |
Contents
- Direct answer
- Why this matters
- Application scenario matrix
- Engineering review points
- Decision layer
- Checklist
- FAQ
How Do You Prevent Needle Dripping After Dispensing Stops?
A needle will drip after stop when the material still has enough energy to keep moving. That energy may be stored as air pressure, elastic hose pressure, or flow momentum in the material itself.
Preventing drip is not only about turning the pressure down. Engineers also need to check needle size, suck-back response, material temperature, viscosity shift, and whether the valve closes in a way that matches the actual adhesive behavior.

Why This Topic Matters in Real Production
Dripping creates contamination, poor cosmetic appearance, dot-size variation, and rework in high-precision assemblies.
In many small electronics products, one extra drop can cause electrical or dimensional problems that are expensive to detect later.
For buyers, chronic dripping is often a sign that the chosen valve or control concept does not match the material and cycle requirement.
Common Reasons a Needle Keeps Dripping After Shutoff
| Cause | What happens | Typical sign | Corrective action |
|---|---|---|---|
| Residual pressure too high | Material keeps moving after stop | extra drop at the end of each cycle | reduce pressure and re-balance valve timing |
| Weak suck-back | No reverse pull to stop the material | hanging drop at the needle tip | increase or optimize suck-back |
| Needle too large | Material exits too easily | oversized tail or slow drip | use a smaller needle where the process allows |
| Material too warm or too thin | Viscosity falls and shutoff worsens | drip increases later in the shift | control material temperature and working time |
| Valve timing mismatch | Mechanical close does not match flow behavior | inconsistent stop quality | tune close timing and dispense profile |
| Air compressibility in feed path | system rebounds after stop | drip is worse at higher pressure | review feed design and damping |
The most useful fix is often a controlled combination of pressure, suck-back, and nozzle change rather than a single-parameter adjustment.
Application Scenario Matrix
| Application | Typical drip pattern | Main driver | What to check first |
|---|---|---|---|
| Small PCB dots | micro-tail and extra drop | low-viscosity flow and weak shutoff | suck-back and needle size |
| UV adhesive | tip hanging drop | thin material and heat from environment | temperature and pressure |
| Silicone bead | long tail after stop | elastic material behavior | valve timing and cutoff strategy |
| Manual syringe work | inconsistent drip between operators | pressure and handling variation | standardize settings and dispense method |
| Automated cycle work | drip worsens at high takt | system rebound and timing mismatch | close timing under real speed |
The same drip complaint can come from different physics depending on the material and the shot pattern.

Engineering Review Points
A practical anti-drip review should focus on what changes at the exact end of the dispense event.
- Observe the needle tip in slow motion or with close inspection right after shutoff.
- Reduce one variable at a time: pressure, open time, suck-back, or needle size.
- Check whether drip gets worse as material warms or as the barrel empties.
- Compare the result with a smaller needle or a different valve close profile.
- Check whether the feed path stores too much elastic pressure.
- Confirm that the material’s working viscosity still matches the setup assumption.
This sequence helps separate pure pressure problems from material or valve mismatch problems.
Quantification Rules Engineers Should Watch
Useful anti-drip tuning depends on measurable setup values.
- dispense pressure setting
- suck-back amount or reverse stroke
- needle inner diameter
- material viscosity at production temperature
- valve open and close timing
- barrel fill level during the defect
- cycle speed when the drip appears
Those values also make it easier to decide whether the current hardware can be tuned or should be upgraded.
Decision Layer: Material, Process, Equipment, or Procurement?
| If you see this | Most likely layer | Why | Next step |
|---|---|---|---|
| Drip appears only with one low-viscosity material | Material and tuning | the current setup may be too open for that adhesive | re-tune or change needle size first |
| Drip gets worse as the line speeds up | Valve dynamics | close timing may not match high-speed demand | review valve capability and timing |
| Drip appears across all materials | System pressure control | the feed path may store too much pressure | inspect controller, hose, and valve response |
| Drip appears late in the shift | Material conditioning | temperature or working time may be changing viscosity | stabilize material condition |
| Manual operators have different results | Process discipline | handling variation is the main driver | standardize settings and SOP |
A clean shutoff comes from matching control strategy to real material behavior, not from pressure reduction alone.
Checklist Before Troubleshooting Needle Drip
| Checklist item | Why it matters |
|---|---|
| Record pressure and suck-back settings | Drip almost always links to shutoff control |
| Record the needle size | Flow resistance changes quickly with diameter |
| Record material temperature and age | Viscosity drift changes drip tendency |
| Record when the defect appears | Startup, late shift, and low fill level show different root causes |
| Save close-up photos or video | End-of-shot behavior is easier to analyze visually |
| Check barrel or tank level | Feed behavior may change as level drops |
| Compare with one smaller needle or different timing profile | A quick controlled comparison often confirms the main driver |
With that evidence, engineers can usually decide whether the problem is tuning, valve choice, or material handling.
Related OBO Precision Guides
- How to Prevent Glue Stringing in Automatic Dispensing?
- How Should Engineers Choose a Dispensing Valve for Different Adhesives?
- Precision Fluid Dispensing: How Can You Improve Accuracy?
- Contact OBO Precision for an engineering review
Frequently Asked Questions
Is lowering pressure always the best way to stop dripping?
No. Lowering pressure can help, but it can also damage throughput or bead quality if the real issue is valve timing or needle size.
Why does dripping get worse later in the day?
Material temperature, viscosity, or barrel condition may be changing as production continues.
Can suck-back cause problems if it is too strong?
Yes. Too much suck-back can pull air into the system or create inconsistent shot starts.
When should buyers consider a different valve instead of tuning more?
If the material and cycle demand consistently exceed the clean-shutoff behavior of the current valve, a different valve concept may be the better long-term fix.
Need Help Cleaning Up a Dripping Dispense Process?
If your line keeps leaving extra drops or tails after dispense stop, send the material type, pressure settings, needle size, and defect photos through our contact page for an engineering review. Contact OBO Precision.
References